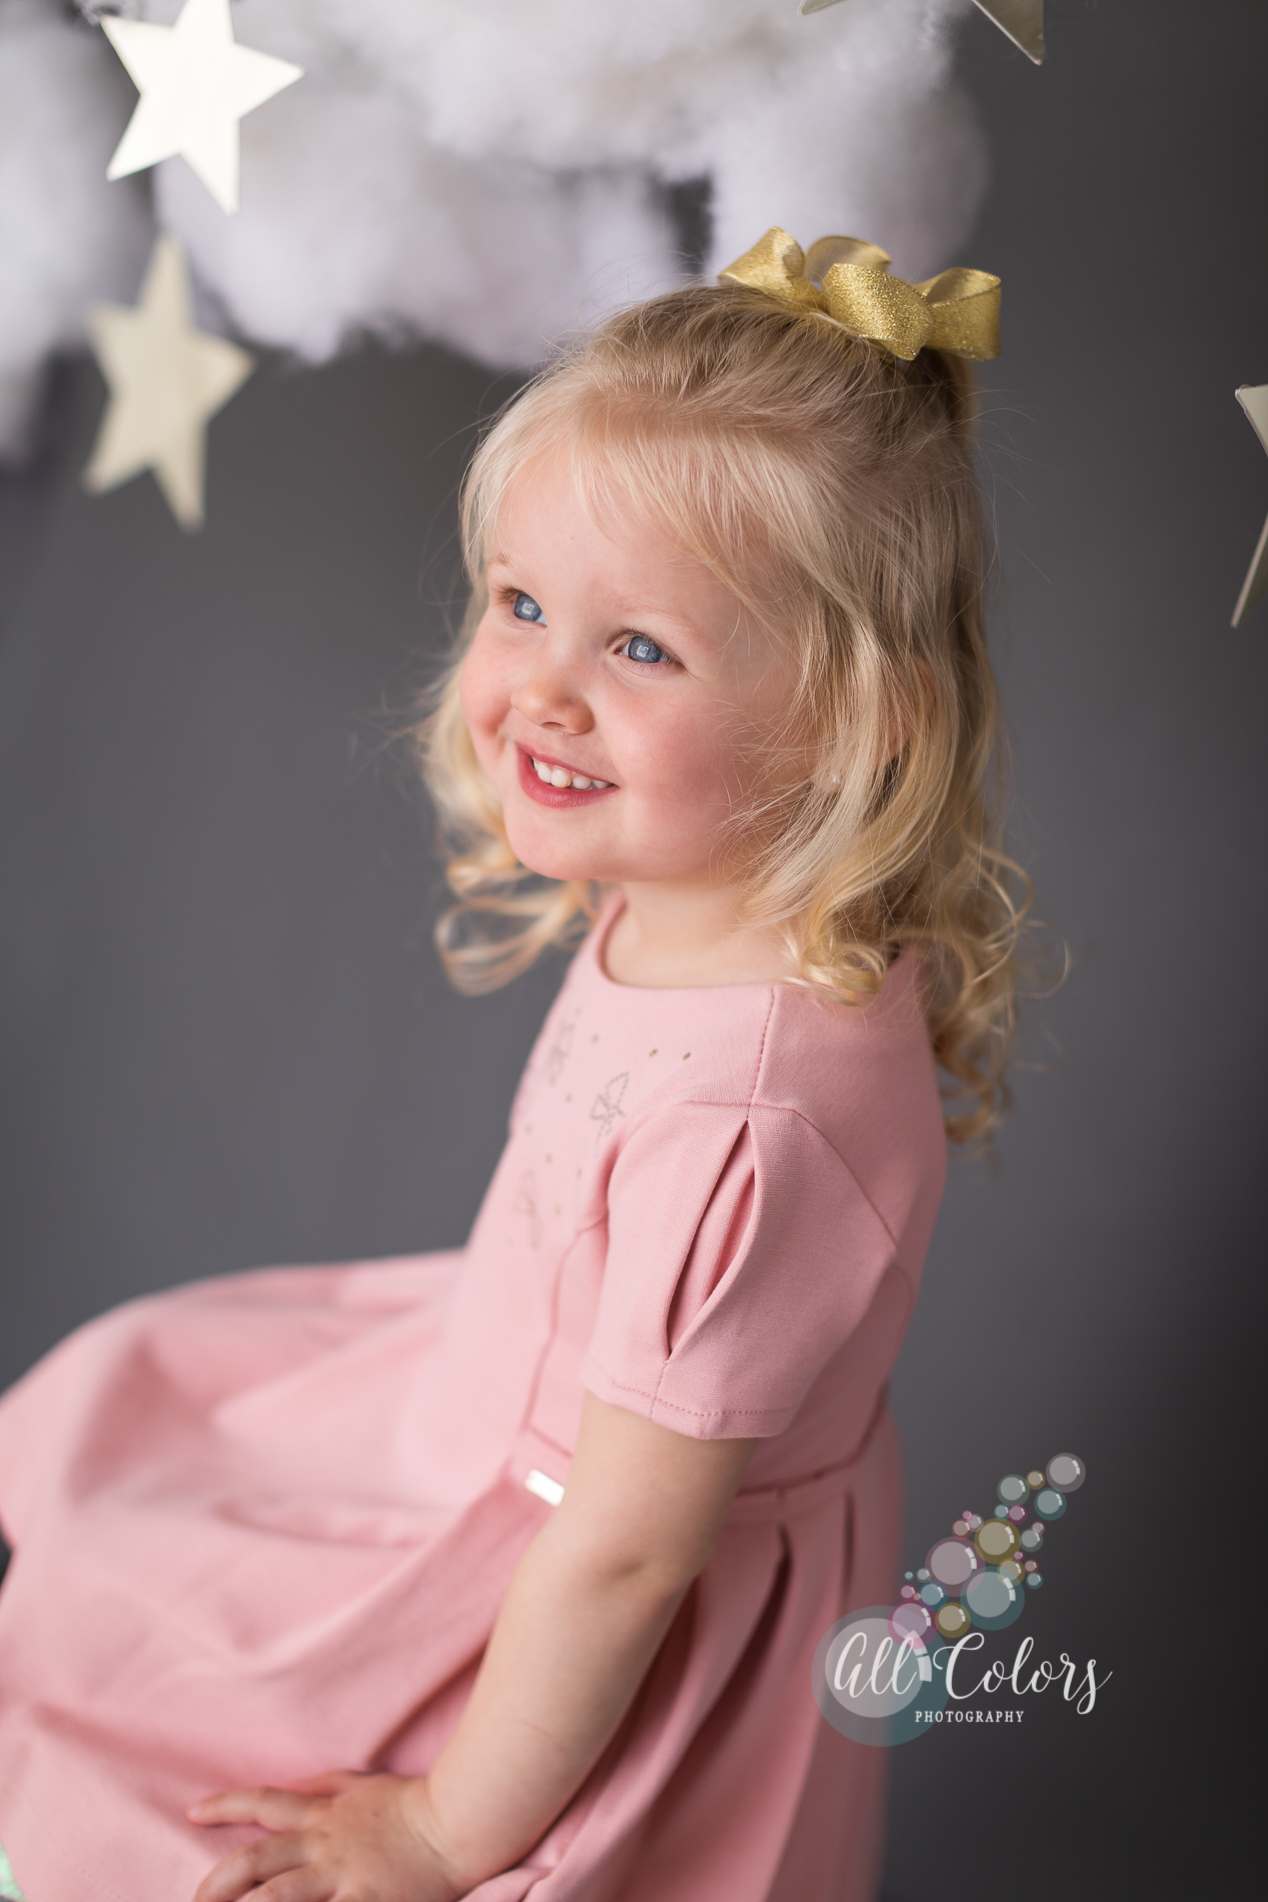
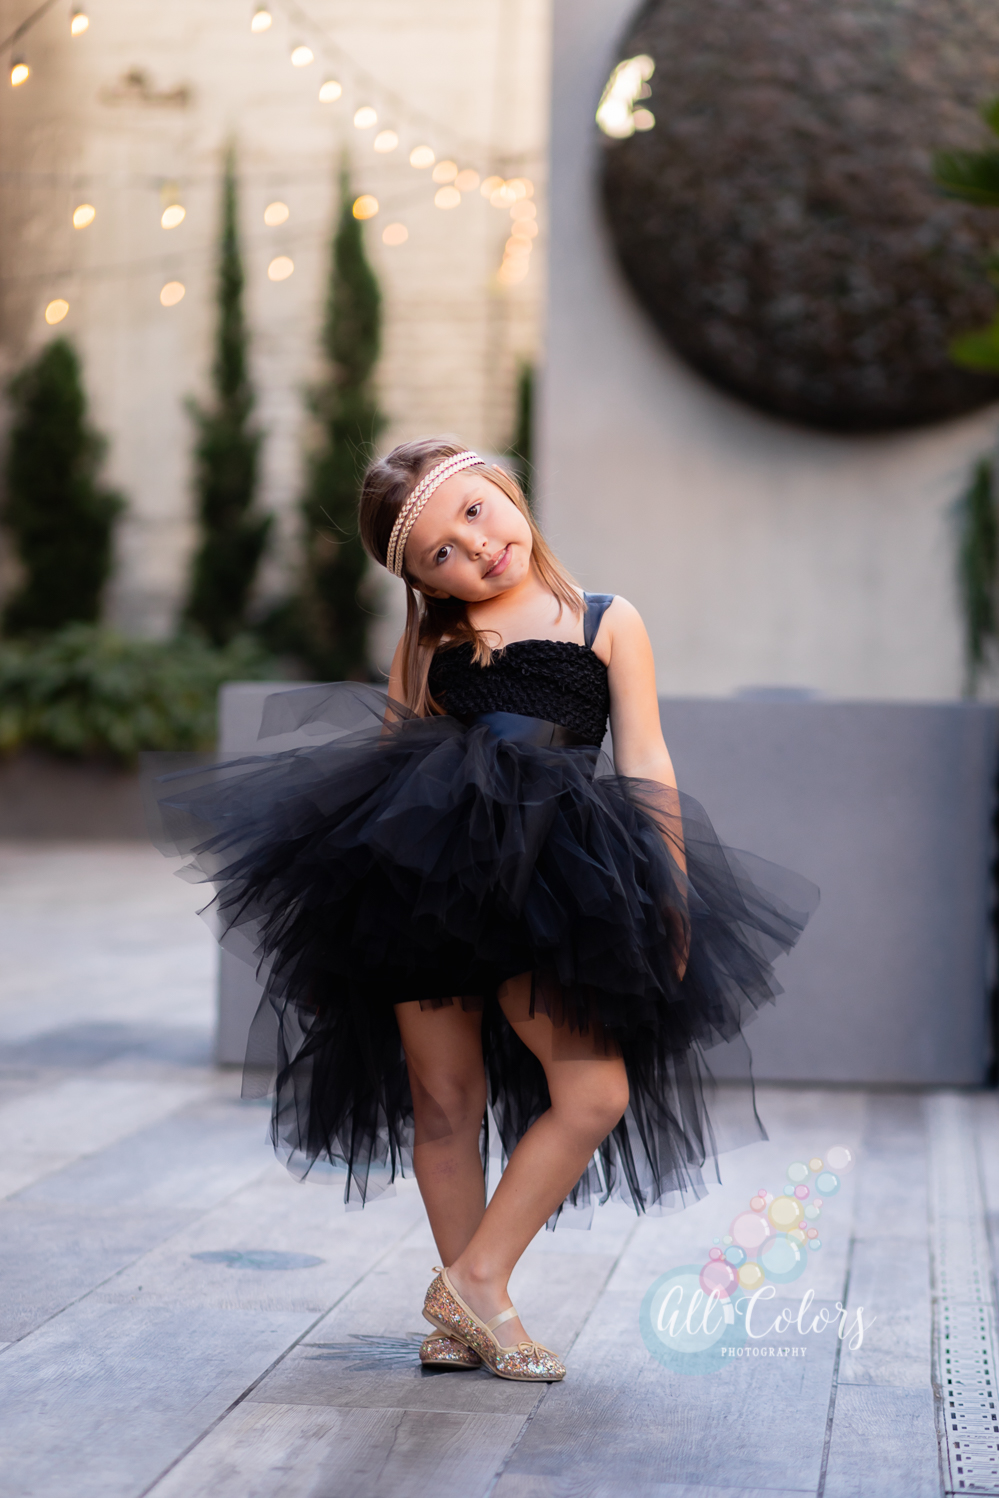
San Diego Newborn and Family Photographer, All Colors Photography specializes in maternity, newborn, child, cake smash, and family photography. Our focus is to create a natural style and comfortable connection to every session.
Recently I’ve been asked to write an article that would be useful to moms and kids in regards to photos and I thought it would be a great opportunity to share some of my tips when it comes to selfies and self-portraits with my kids.
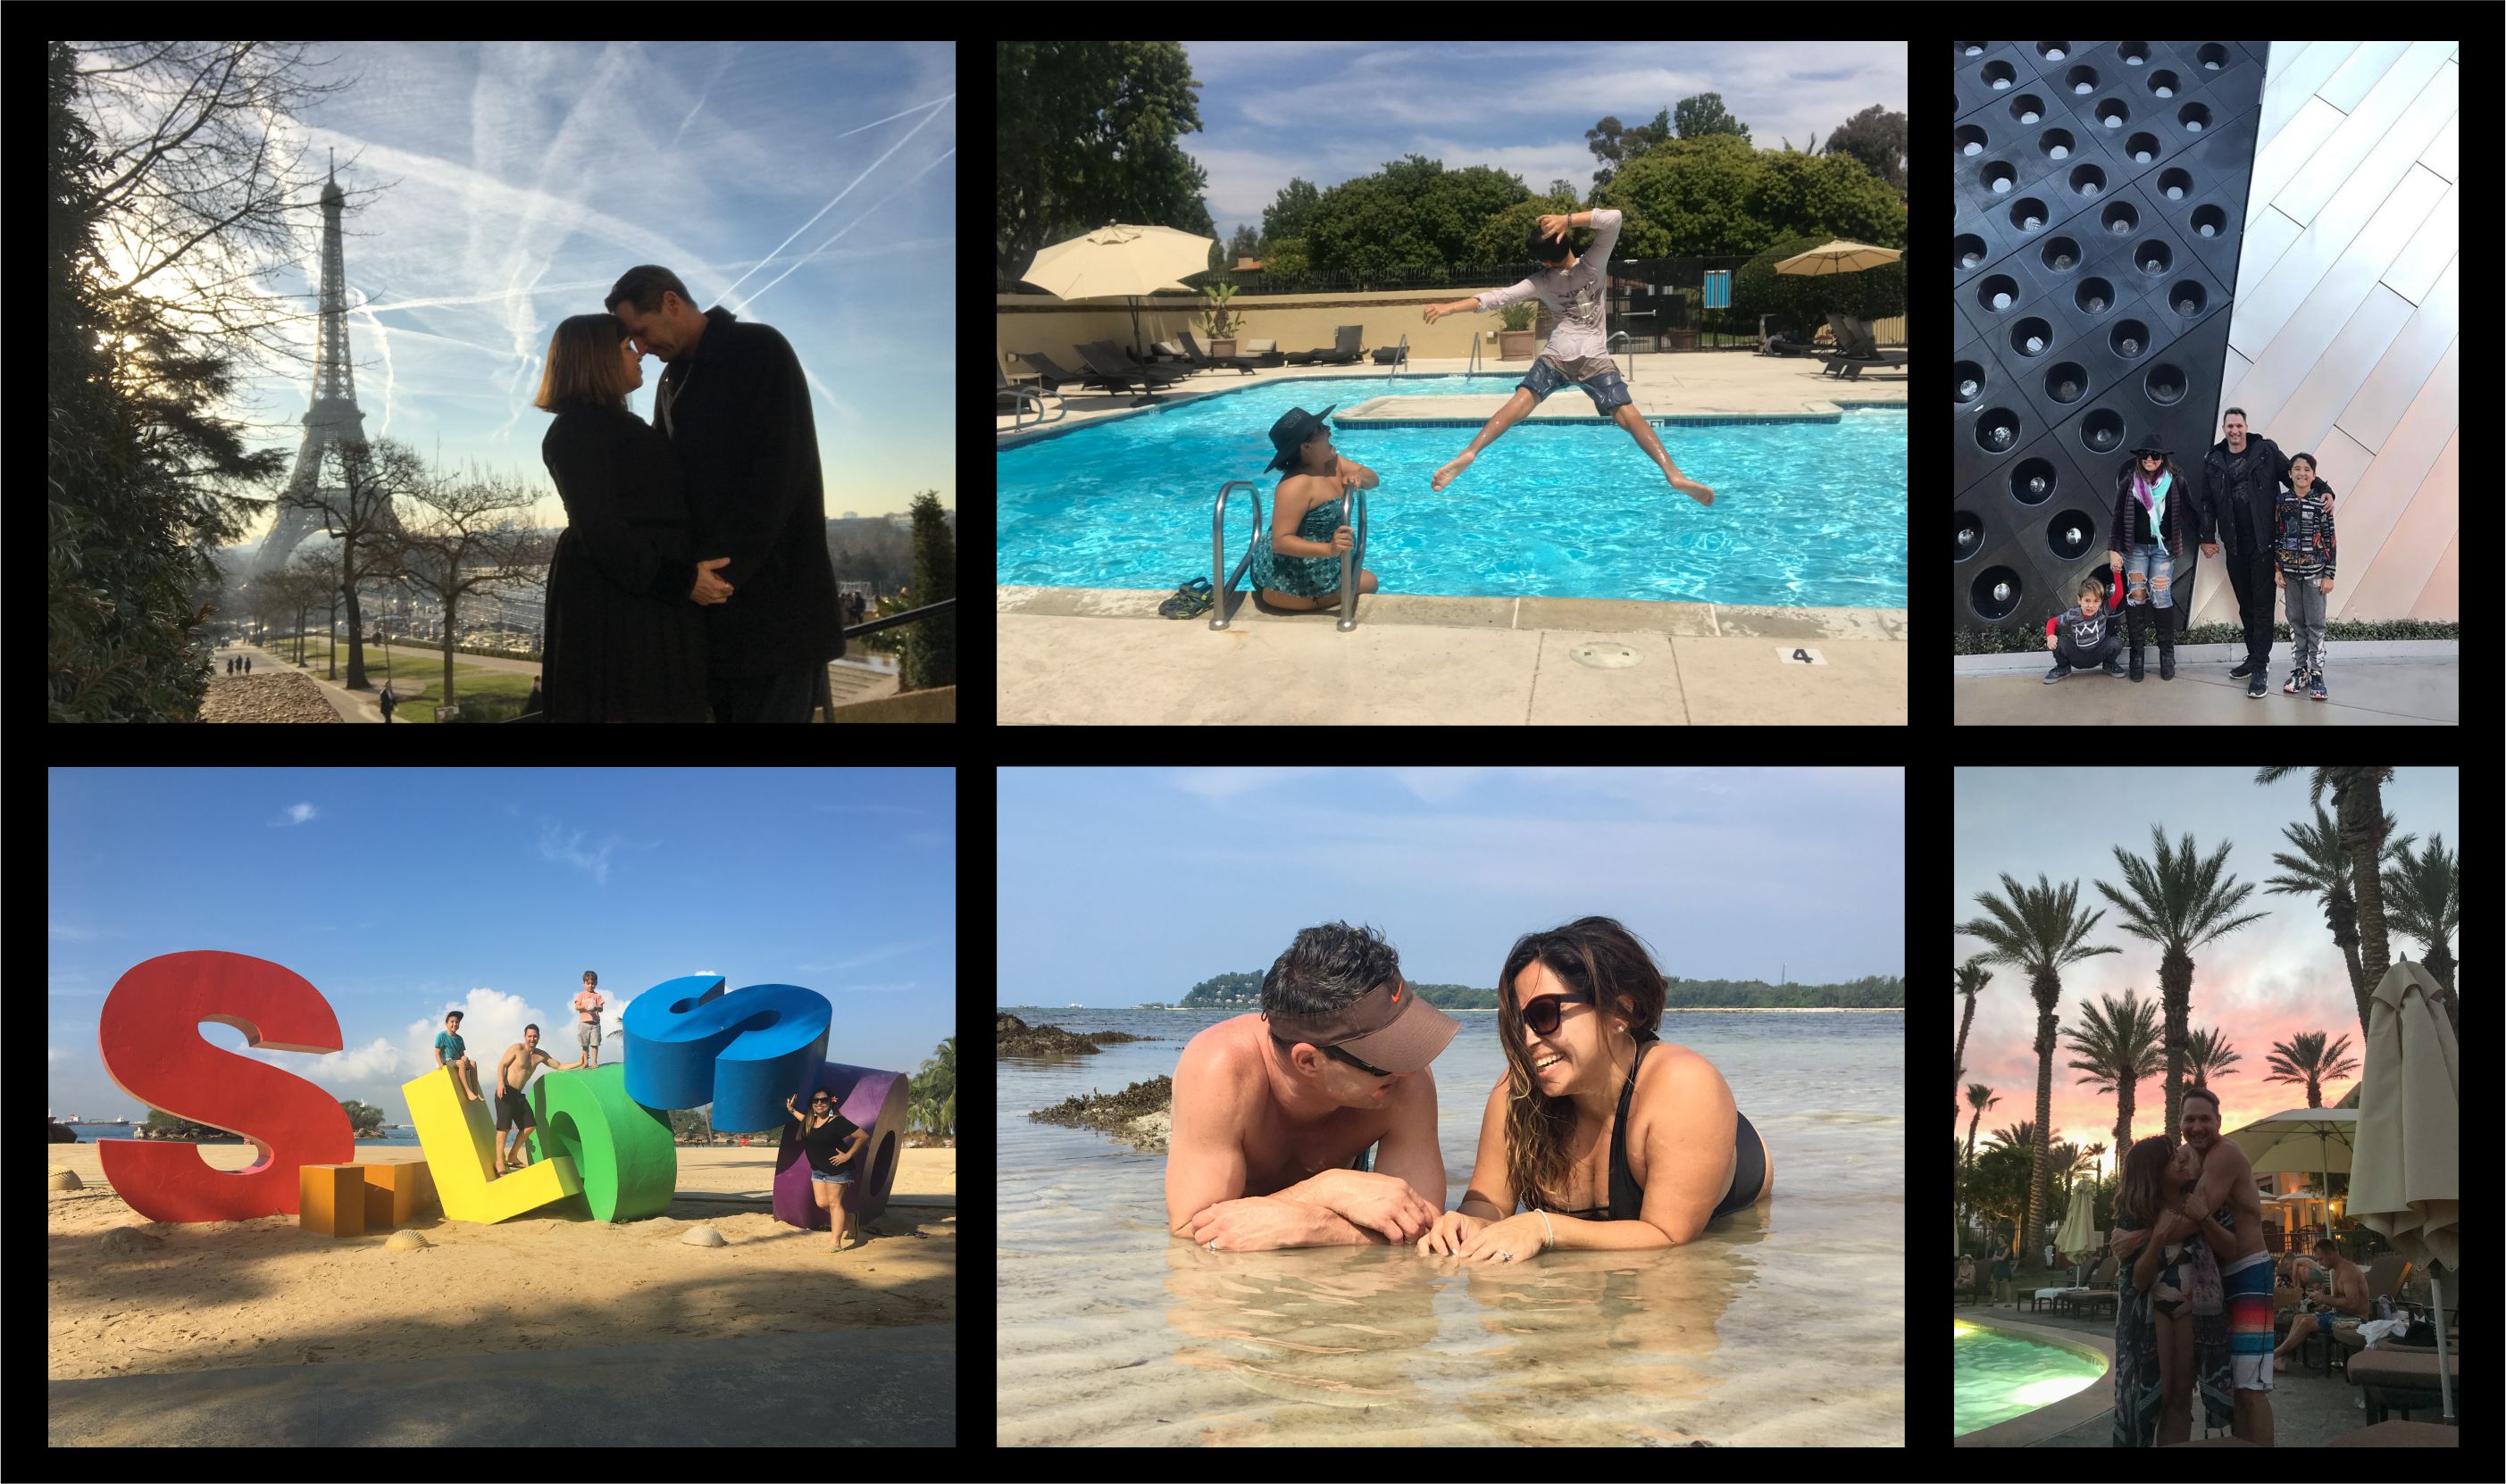
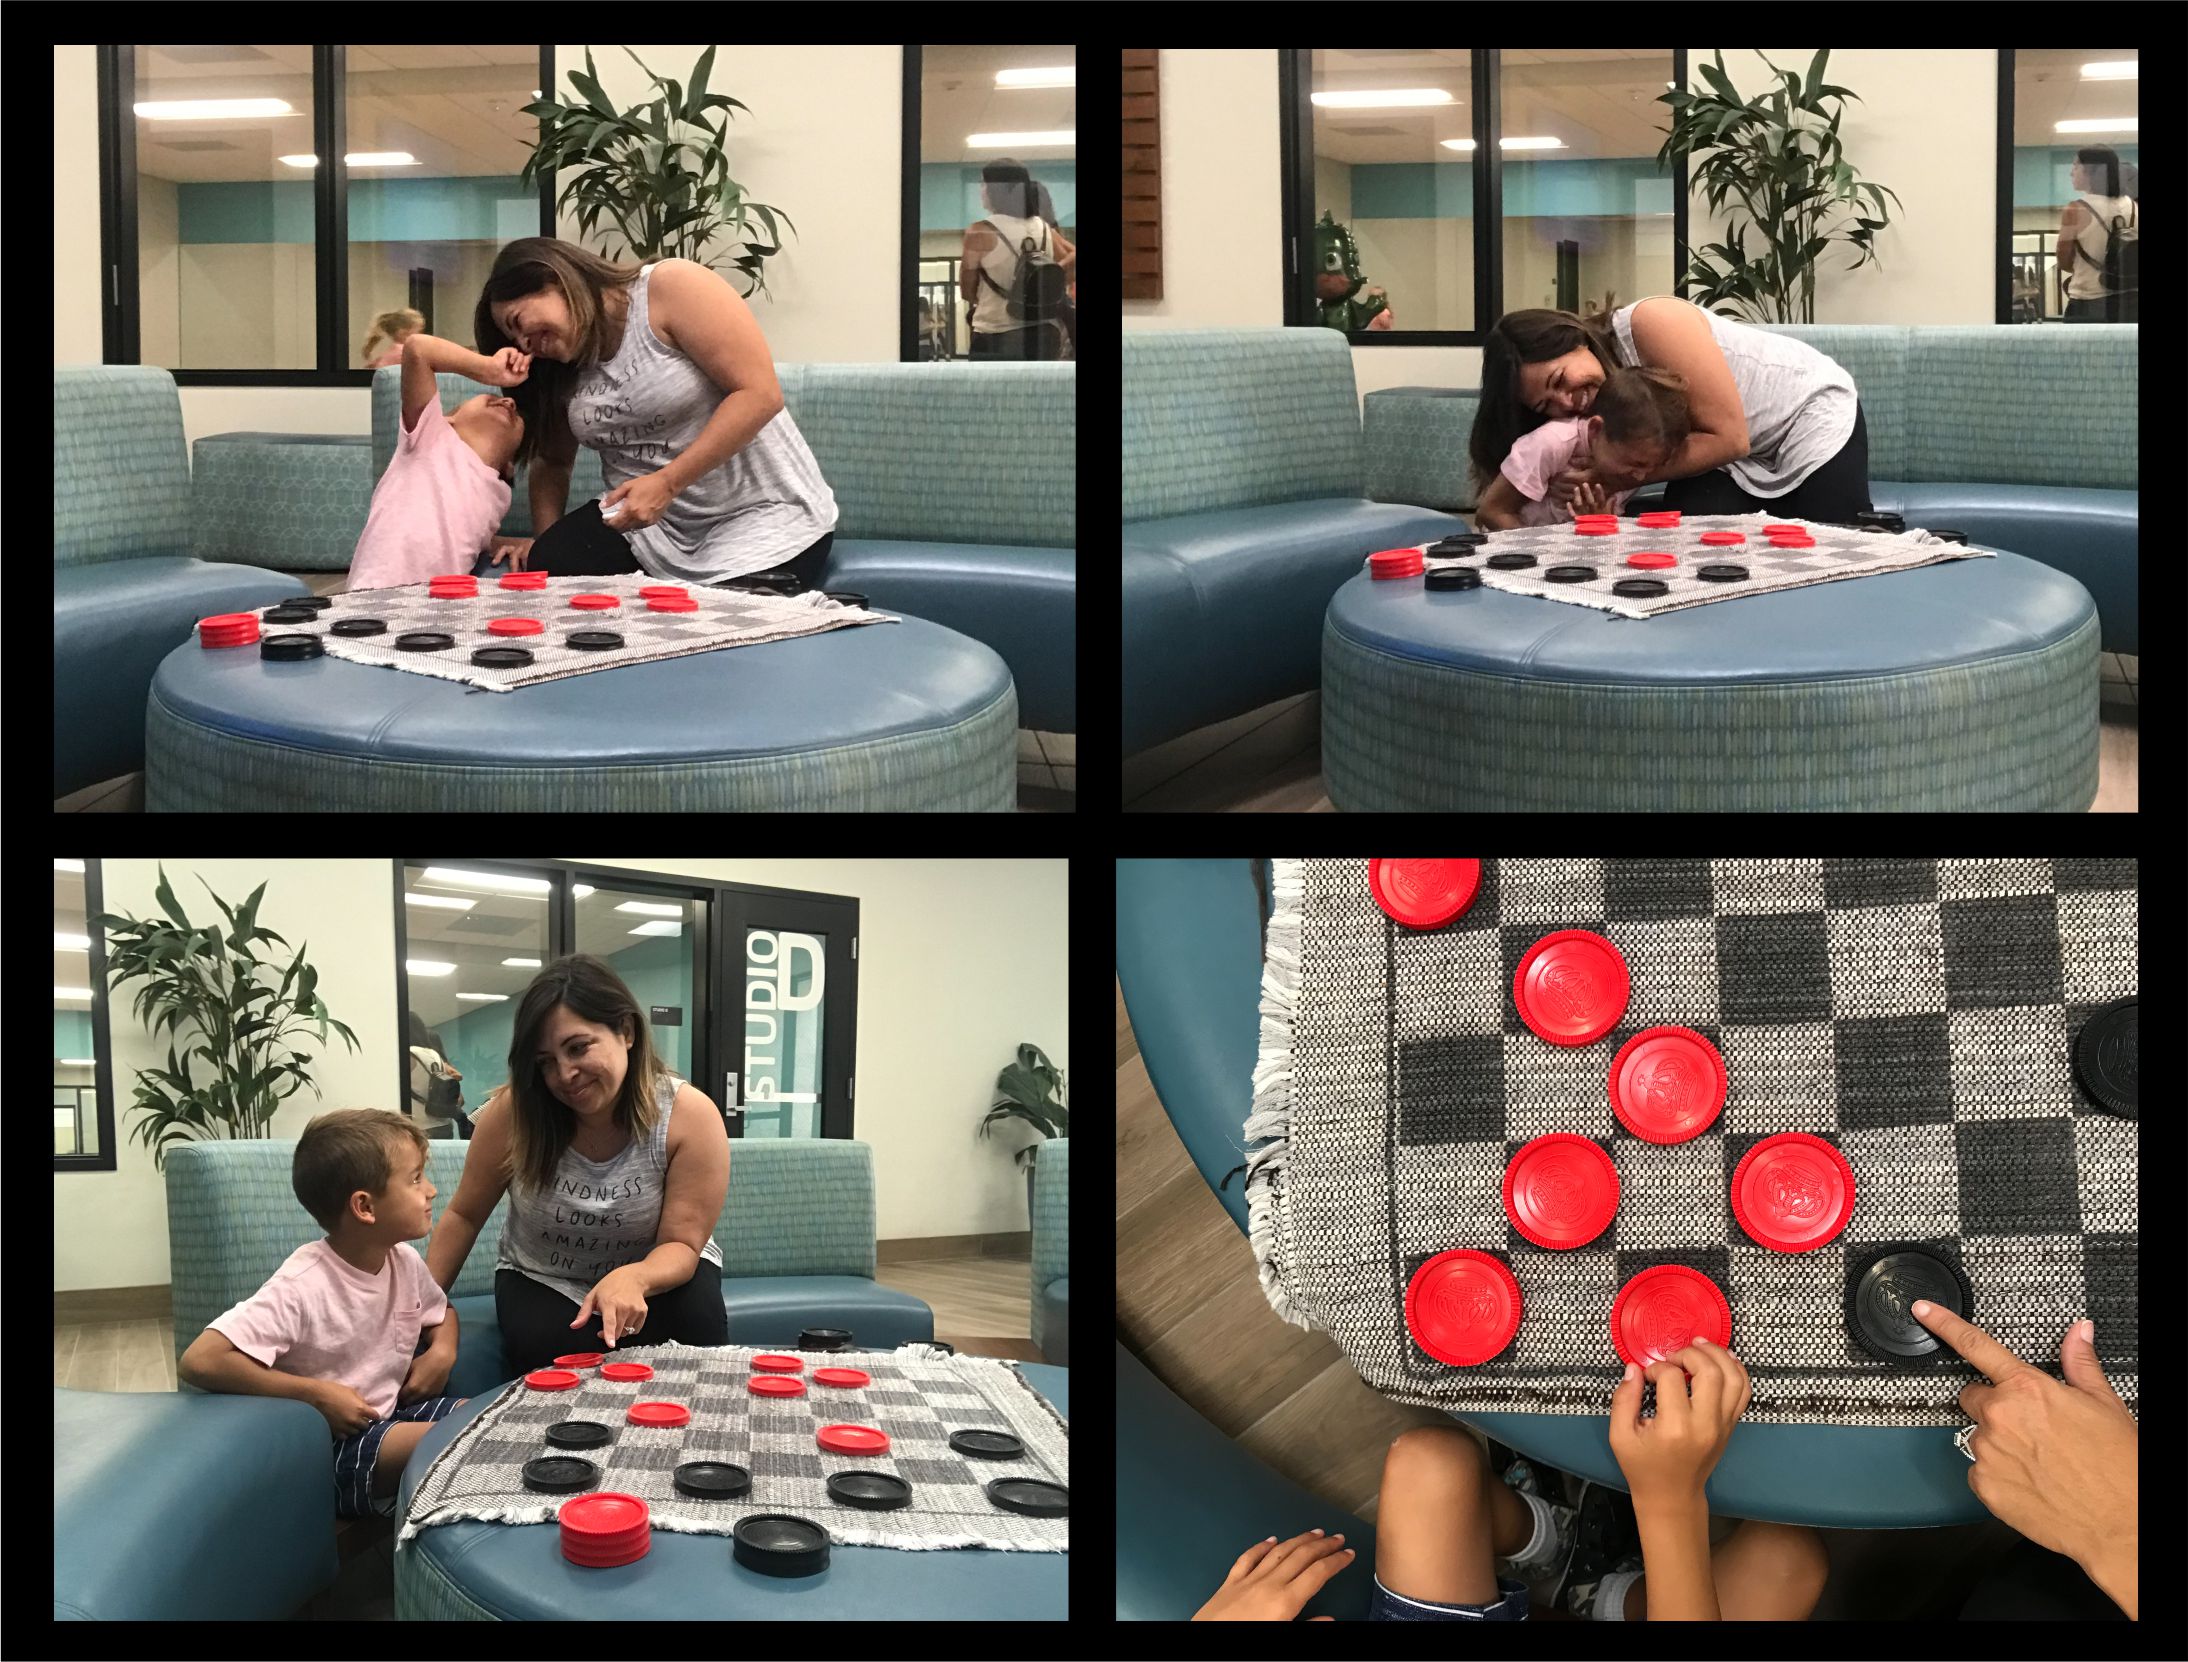
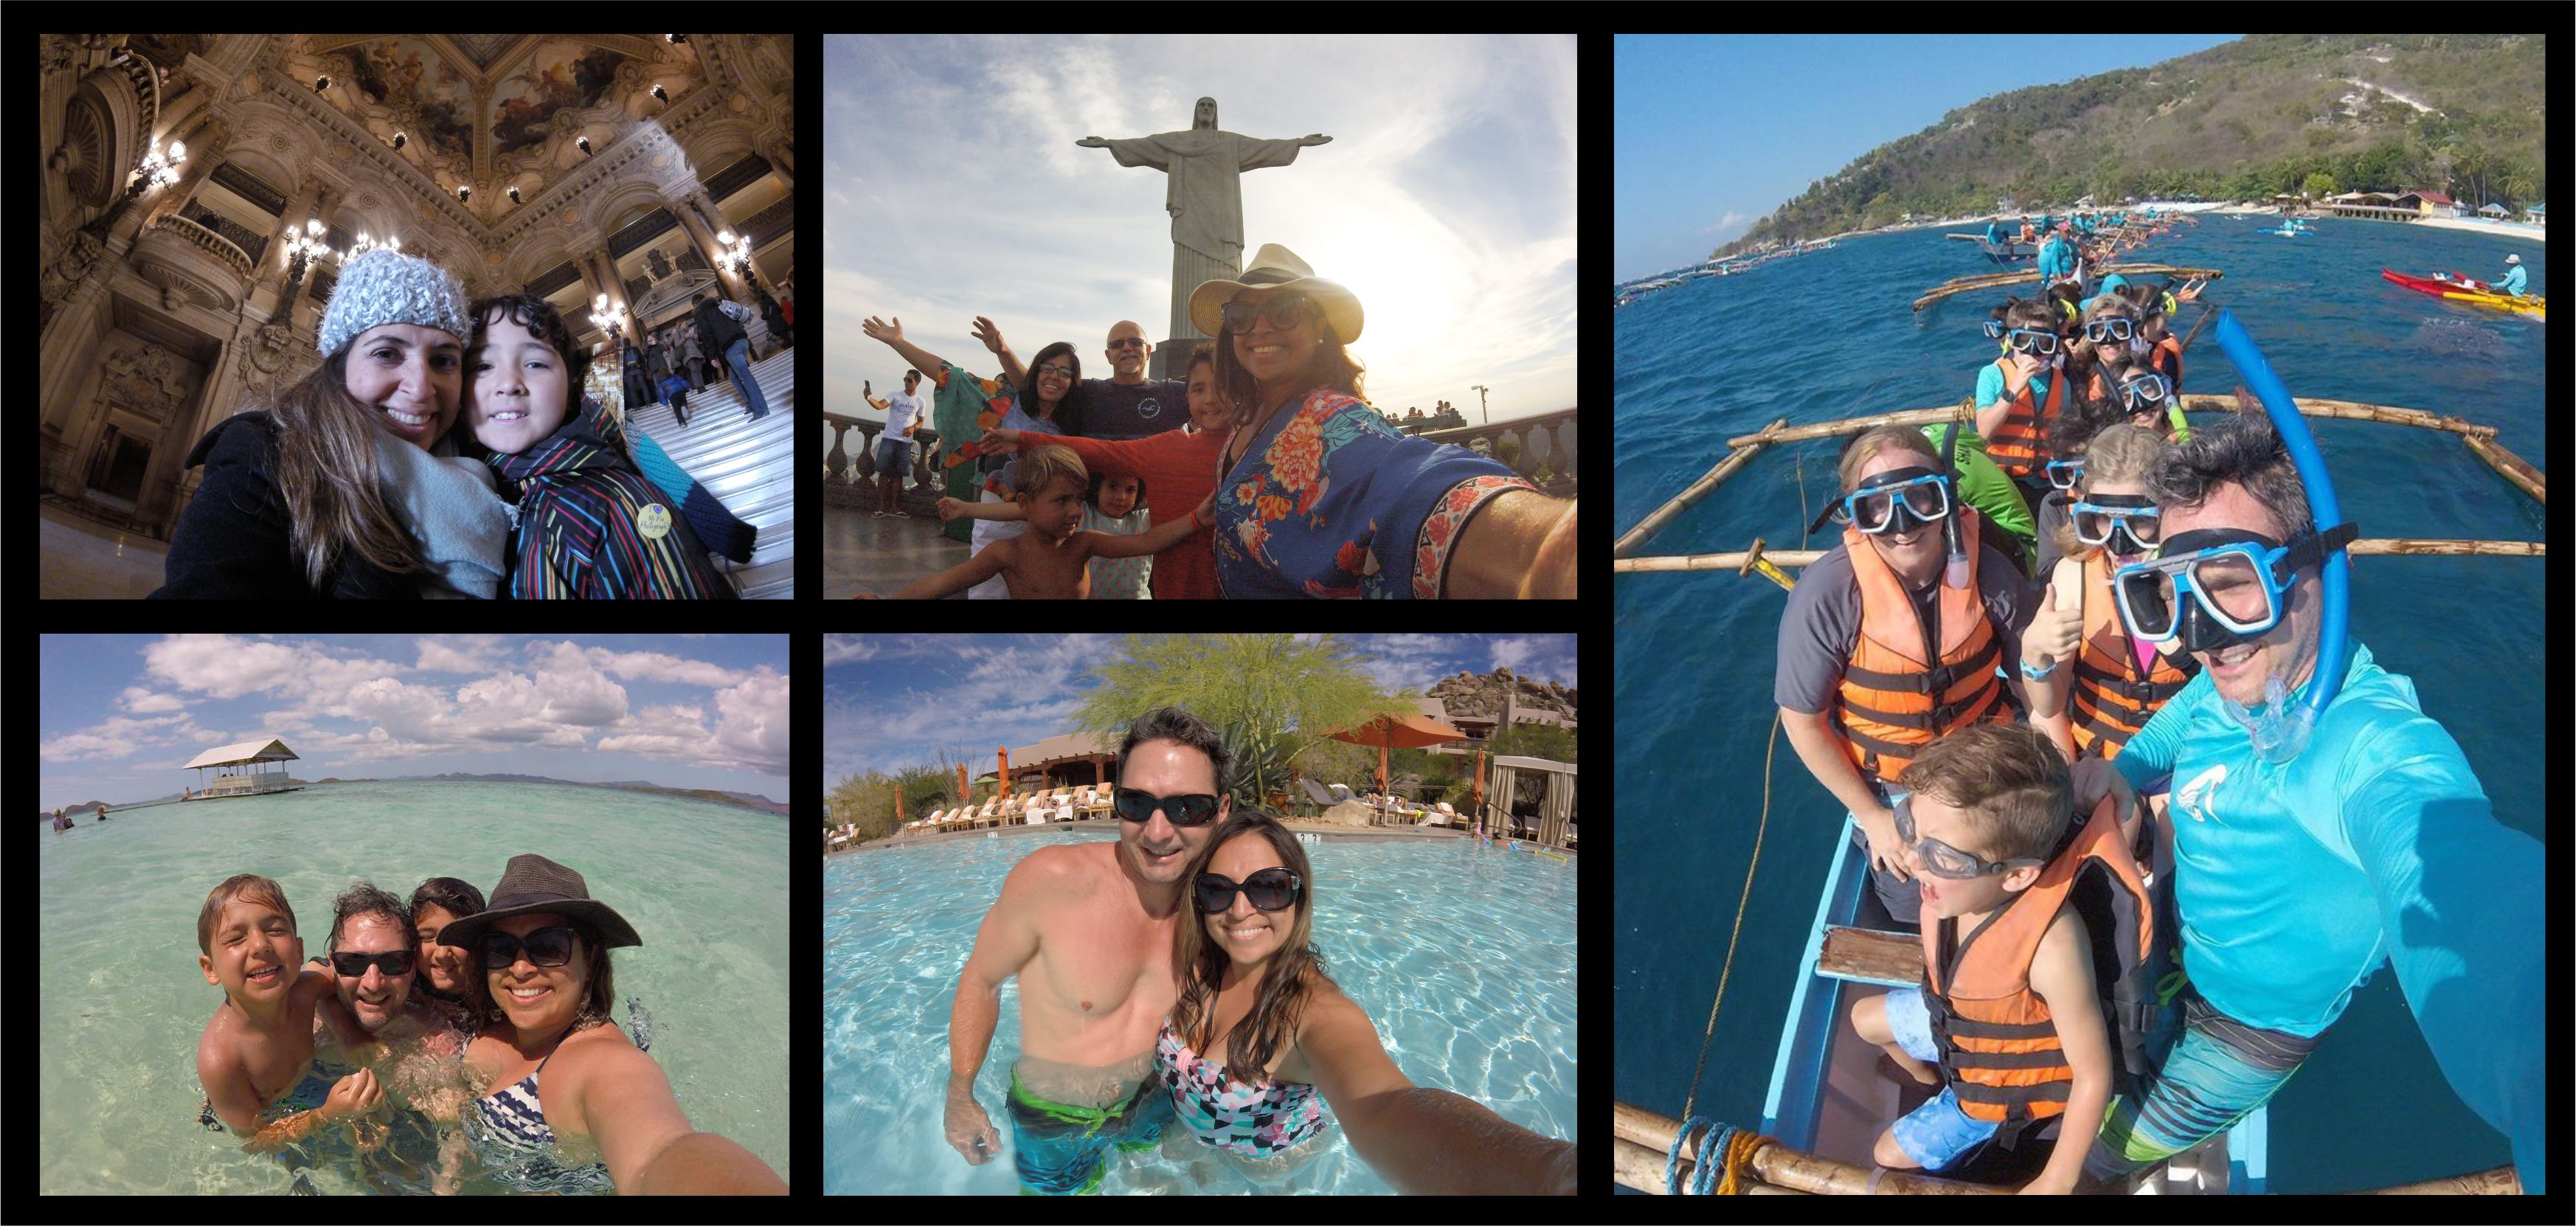
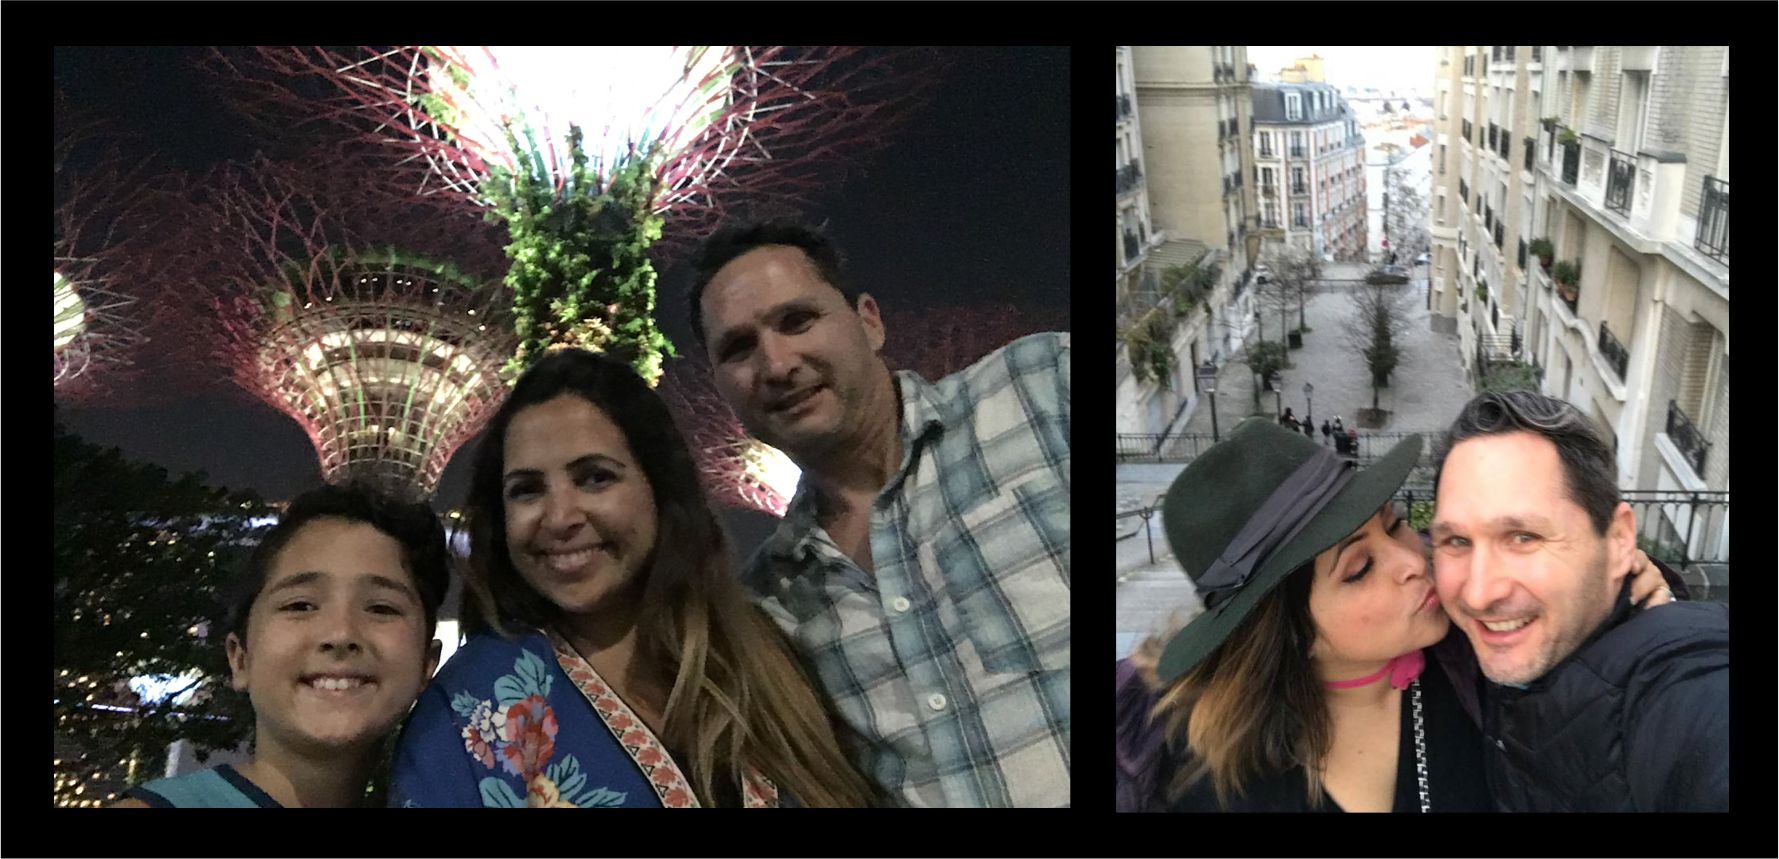
In a perfect world, I would have tons of pictures with my kids to show that I was actually there, living those wonderful experiences with them. They would cooperate in photo shoots, I would hire photographers all the time, and my husband would be delighted to snap candid shots of me and the kiddos. Ahhh wishful thinking… Can you relate? Well, I am pretty sure a lot of you can… So instead of hiring a photographer every week or feeling resentful towards your husband, I would love to share some tips on how I started dealing with the situation by finding ways to do self portraits and selfies so I could have photos with my kids.
My name is Christianne Dowd owner of All Colors Photography. I live with my husband and our two boys in San Diego, CA. It is fair to say that I am obsessed with photos, I think about photography all day long, angles and light, backdrops and composition. It is also fair to say that it is my thing, not my husband’s. If it wasn’t for the 2-3 year when I hire a photographer (or trade, one of the amazing perks of belonging to a great photography community), or when I specifically asked my husband to grab the phone and snap a photo of me and kids, I wouldn’t have any photos with them. Oh, yeah, I forgot, I would be in some hideous selfies with half my face cut in half.
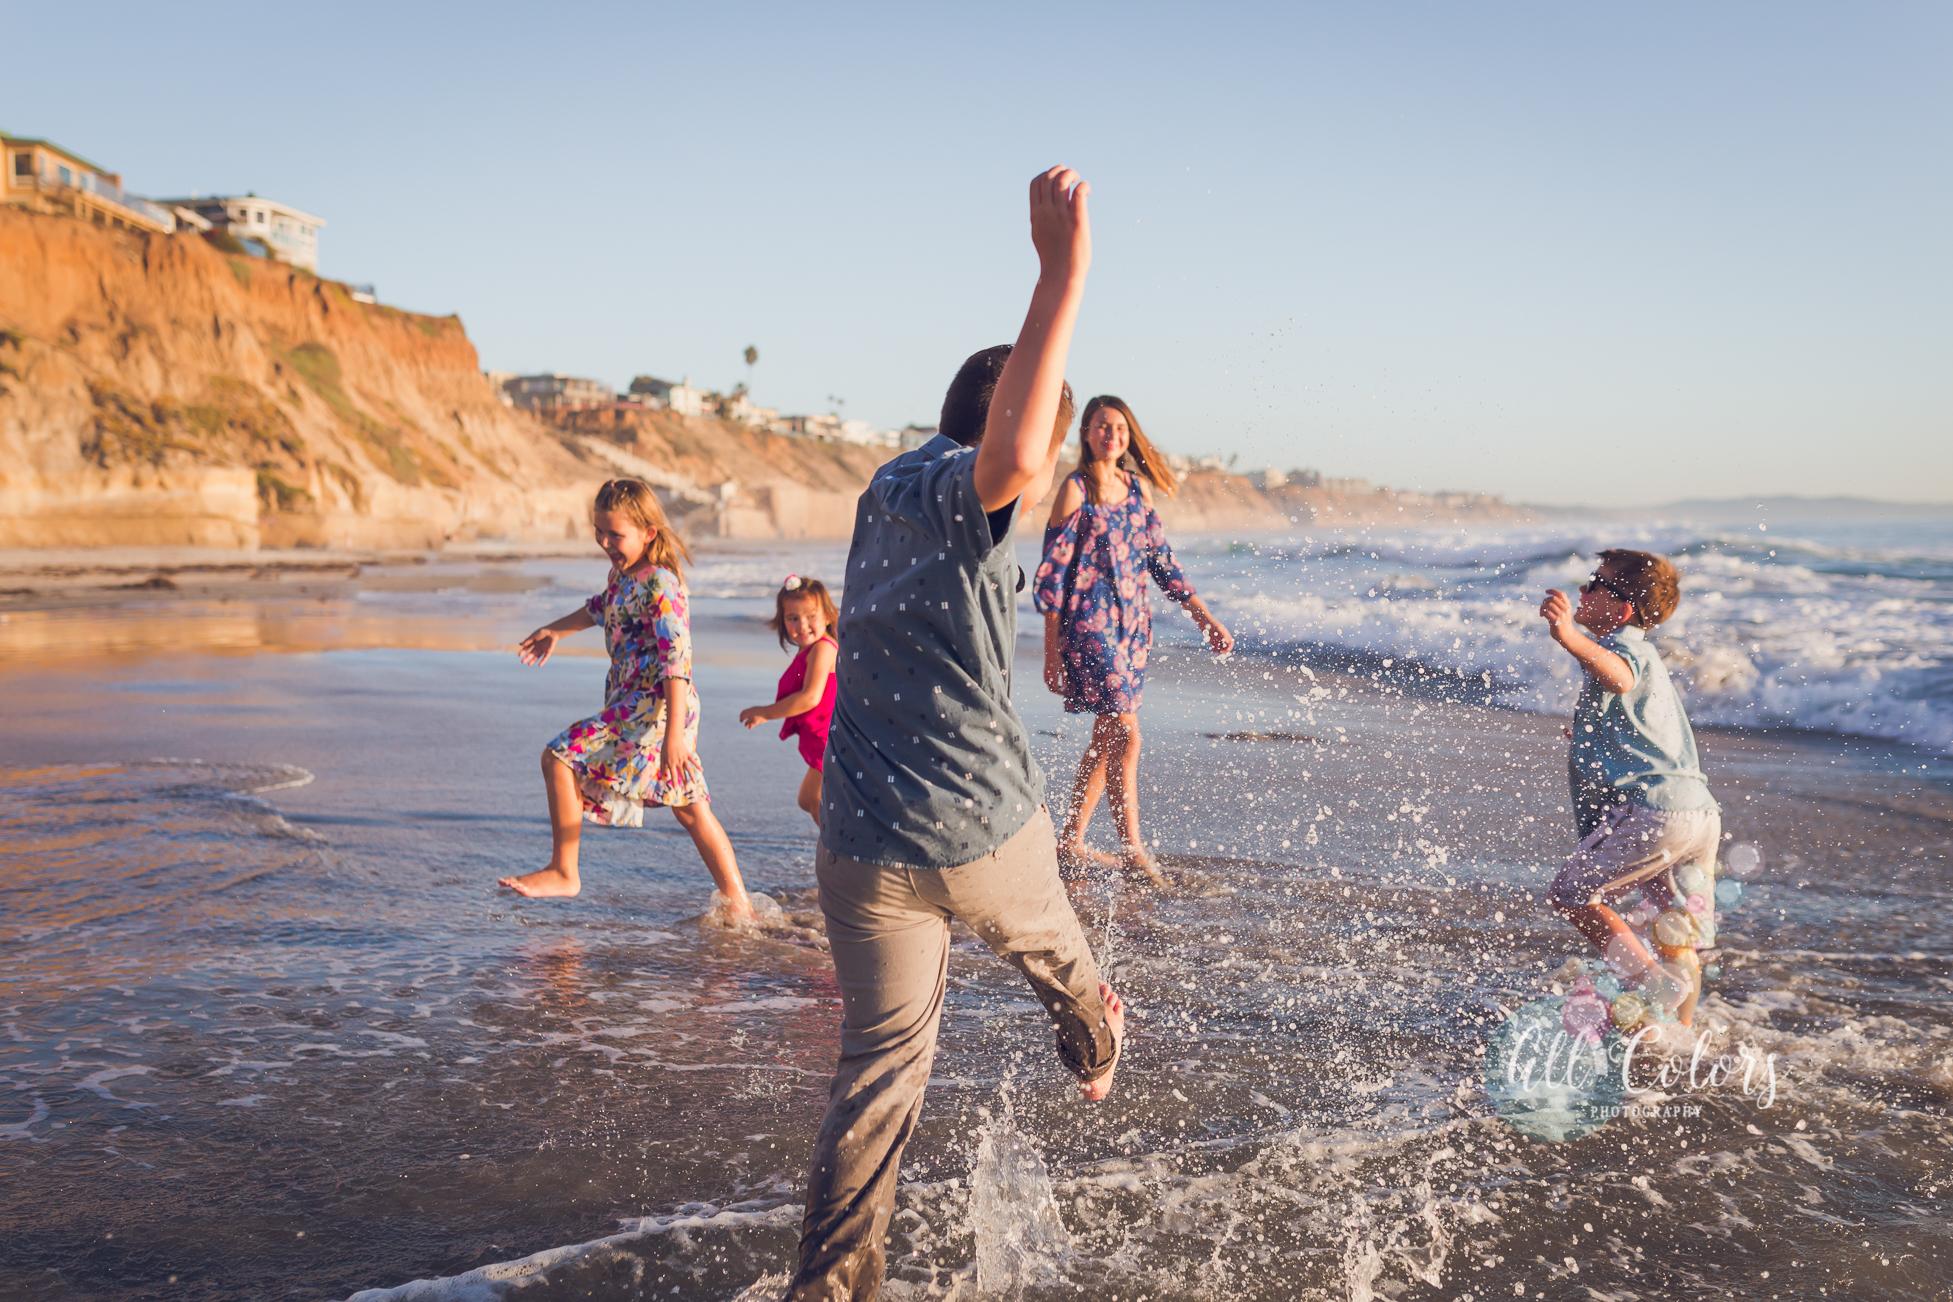
I figured I had to step up my game and started to wonder: how can I make this work? Both my kids suffer from “Photographer’s Child Syndrome” and having them collaborate is a whole other story. So the best option would be to try some candid photos and every now and then an obviously posed photo. Don’t get me wrong: all the photos are posed. I see an opportunity, try to adjust light, angle and placement and go for it. They just don’t always realize it. These are all done with my phone. Maybe one day I will upgrade to using my pro camera, but seriously, the preparation would be so much bigger and I wanted to come up with with some easy and quick techniques that I could use anywhere, anytime. So, phone it is! I have an Iphone 7 plus, so not even the newest one, but even an older version will allow you to do the same tricks.
TIMER: In the beginning I started only using the phone time and choosing 10 seconds. That gave me plenty of time to run to where I am supposed to be. With the timer you get 10 shots, so after a few attempts, I would just go back and choose my favorites, keeping only the ones that I liked. This is an important process. Don’t keep 500 photos. Go in, be selective and objective: you might keep only one, and it is fine. You just want the best of the best. I still use this method, specially for when we are going for an action shot, that way I know that at least one of the 10 will have captured the exact angle I am looking for. If you don’t have any accessories in hand, use the phone timer. It will work like a charm!
I used to just place my phone anywhere from a table to a pile of 20 objects in an attempt to get the phone in a good angle for the photo. And sometimes just from me walking to my spot would make the floor shake and the phone would just fall on the group. No photo and sometimes a cracked screen. Until I started using phone tripods. They are simply THE BEST! I don’t buy any expensive ones, as a matter of fact I have a bunch of cheap ones and I carry them everywhere now. If you are going to buy one to try, start with the one with flexible legs, also called octopus tripod. They can be placed anywhere you want and attach anywhere, such as a fence/chair/bike/tree branch for difficult or sharp shots. I’ve attached mine to fences, windows, poles, branches, light fixtures… Their flexible legs hold firmly in any position you set them.
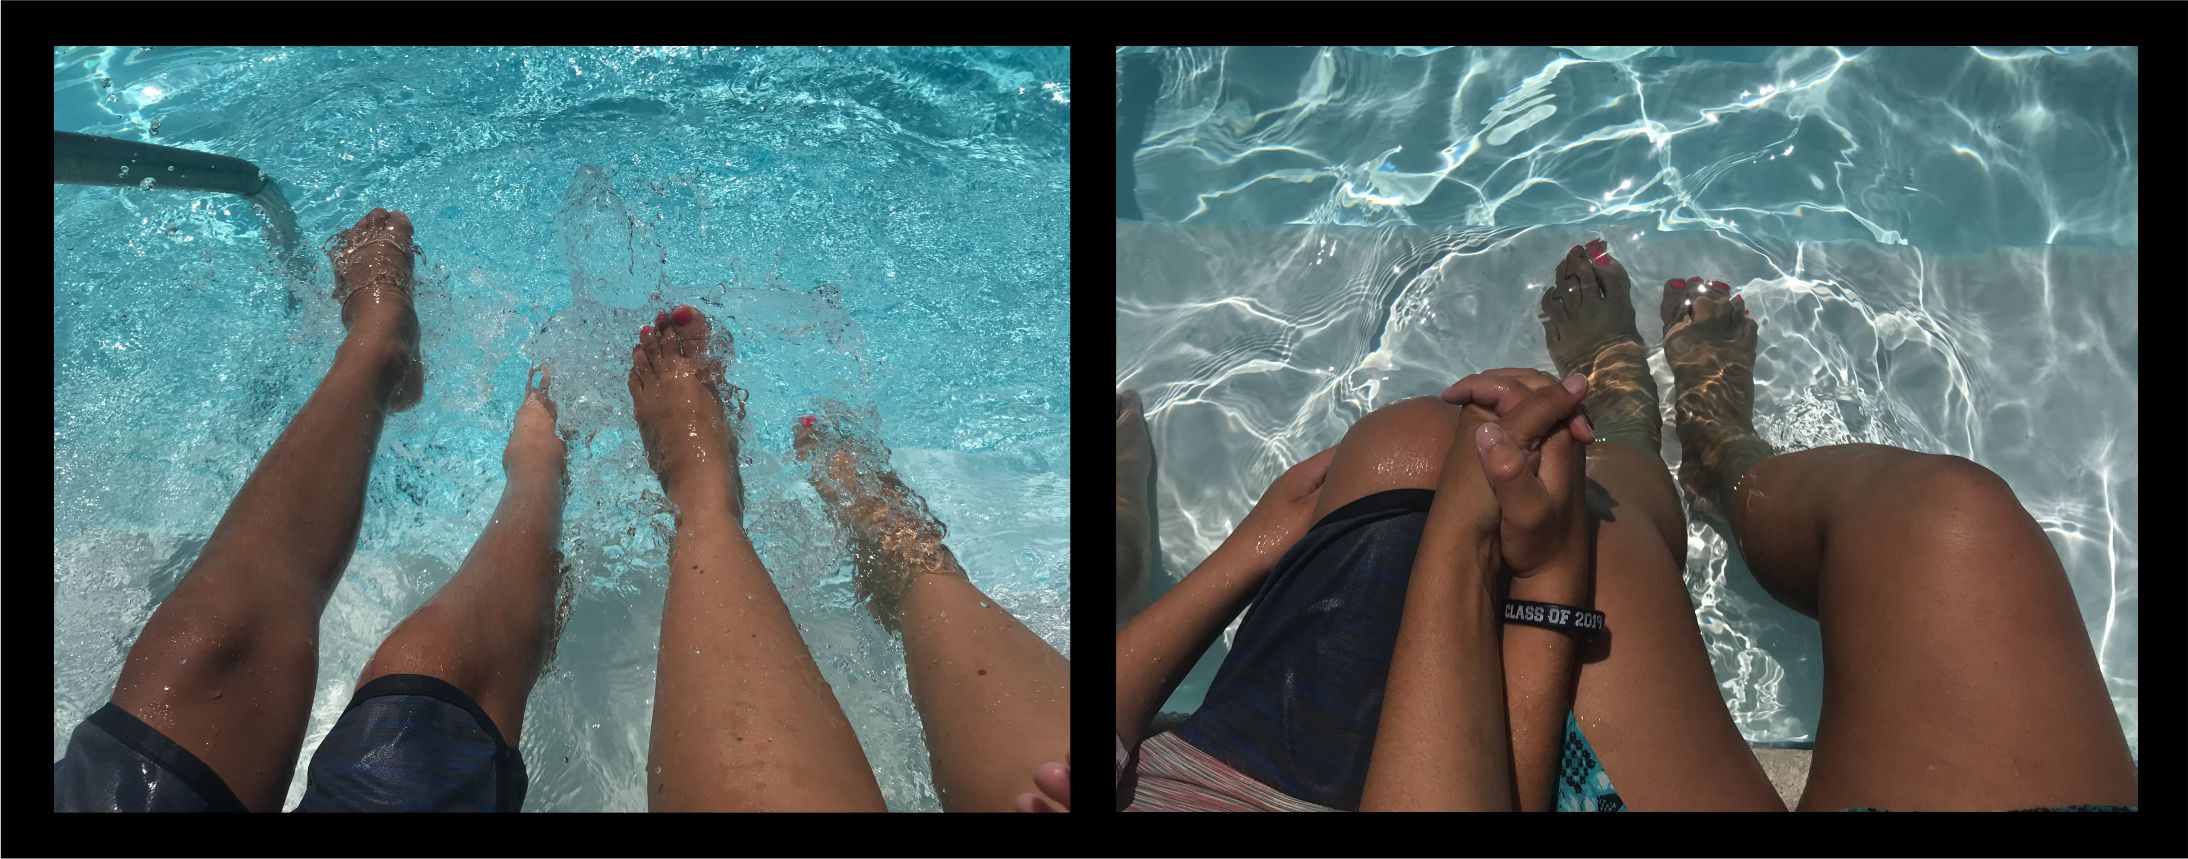
A lot of the tripods today come with a remote control and they will change the way you take your photos. A lot of times I don’t use the timer, just the remote control. It is super easy to use: once you turn it on you will be able to add it to your Bluetooth list. I just make sure the hand holding it is somewhat hidden. GOPRO: If you have a GoPro you have absolutely no excuse! Its wide angle lens makes it veeery easy to take selfies and I also usually take advantage of the burst feature to get multiple shots at once and then choose my favorite of the series (just like I do with the timer on my iphone). GoPro has great quality and the colors are vibrant and beautiful. I use it mostly when we are playing with water but also when we are on land. Note: With the GoPro your arm will show due to the wide angle lens. To avoid it you can use the burst/timer or a selfie stick. Also, work with the angle so the horizon line doesn’t look too warped. SELFIE STICK: The self stick can be a great tool. Of course we use it more for posed photos, so if your kids are up for it, do it. My only suggestion is that you be mindful about your arm placement so it doesn’t look obvious that you are holding a selfie stick, or even worse, that it actually shows in the pictures. And in case you want to take it to the next level, you can hold it behind you or slightly to the side so you can get some candid photos.
DIFFERENT ANGLES: Don’t just think about getting your faces. You can always hold your you camera up high and get your hands working together, your fingers running through your baby’s hair, or your feet walking side by side… details are very important elements when telling a story. Also, sometimes I do a traditional selfie with my face in the first plane and the kids in the background.
LOCATION: Be mindful of your surroundings in order to get a better photo. It might take you a couple of minutes to move some things around but it will pay off in your final image: remove excessive clutter, or change the position so you can get a more clean look. You want the focus to be on the people, so less is almost always better when it comes to photos. Unless you are shooting in a cherry blossom field, then in that case get as many flowers in the frame as possible. haha Pay attention to light and how it will make your photography improve, use a window, open a door or simply position your subject in a place where the light can be bounced, like a white wall or a concrete floor. Avoid dappled light. An even, well lit subject will look way more pleasant to the eyes.
TIME: Choose a time of the day when your kids are in a good mood, or at least excited about a game or activity. Preferably don’t let them know your intentions, but if possible choose a good area in the house or park, with a good backdrop and good light. Choose your favorite play outfit for them: you want them to be cute, but comfortable. Remember, you don’t want them to think they are going to a photoshoot.
POST PRODUCTION: Of course these are not professional photos, but sure there are little tweaks you can do to make it more finished. On your phone, click on edit to fix some simple problems like a crooked horizon line, a bad crop, or a photo that is too dark. Use it intentionally and with caution. I would really suggest that you avoid filters! It is no joke: in two years you will look back at your photos with the latest filters and you will cringe! Make it simple and timeless.
And finally, don’t be judgmental. I know we can be so picky about our looks, but remember that there is only one thing you want to accomplish here: to have proof that you were side by side with your children while they were experiencing our beautiful world.
If you have any questions, or would like to share your experiments, I would absolutely love to hear from you. Please email me at allcolorsphotography@yahoo.com or DM me on www.instagram.com/ChrisDowdAllColorsPhotography